Teaching Area & Perimeter: Tips, Tricks, and Free Activities to Make things Easy
I love teaching measurement because it offers so many opportunities for real-world applications. One of my favorite concepts is area and perimeter because it is a unit full of hands-on activities, opportunities to move, and cooperative work. I like to select area and perimeter activities that make these concepts concrete for them. That being said, teaching perimeter and area isn’t always easy.
Regardless of how many fun activities I plan, many students struggle to remember the difference between perimeter and area. This is why it is critical I purposefully plan activities that give students a chance to solidify the differences between these concepts.
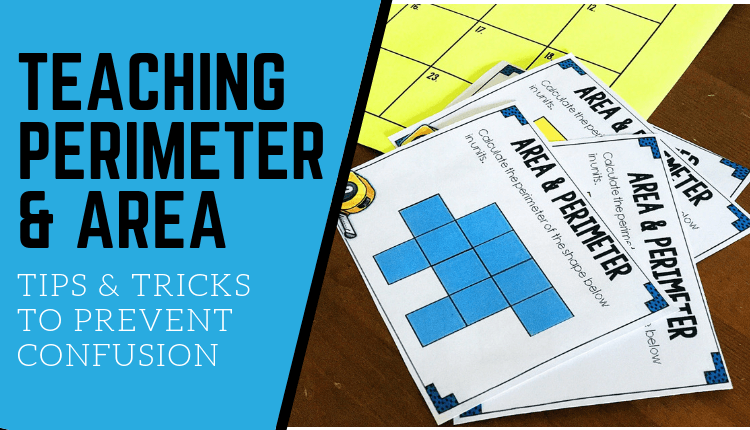
In addition to thinking up fun ways to teach perimeter and area using hands-on experiences, I also like to give my students several strategies to help them differentiate between the two. Today, I wanted to share a few of my favorite strategies and tricks for helping students with how to remember perimeter and area.
Defining the Terms: Area vs. Perimeter
Before we dive into the strategies for teaching area and perimeter, I want to be sure I cover the definitions I use when teaching these mathematical terms.
What is Perimeter?
Perimeter is the sum of the sides of the shape. When we measure the perimeter, we are essentially adding up the lengths of all the sides of a shape. It’s like wrapping a measuring tape around the outside of a shape to see how long the tape is. This measurement gives us the total distance around the shape.
What is Area?
Area, on the other hand, is a measure of the space inside a shape. Imagine painting the inside of a shape – the area tells us how much paint we would need to cover that space completely. We calculate the area by multiplying the length by the width of a shape, which gives us a measure of the space inside it in square units.
Bridging the Gap Between Concept and Computation
Understanding these concepts is crucial, as it lays the groundwork for our hands-on activities. By grasping the difference between the edge-walking perimeter and the space-filling area, students can better visualize and compute these measurements in practical scenarios. This foundational knowledge enhances their ability to engage with our diverse range of activities designed to make learning about area and perimeter an adventure!
How to Teach Area and Perimeter for Mastery
The strategies below are designed for teaching area and perimeter definitions and how to compute each using a multi-sensory approach. These can be especially helpful when teaching students how to remember area and perimeter.
1. Use visual cues to differentiate the perimeter from the area.
It can be challenging to figure out how to explain area and perimeter to a child without exposure to the concepts. This is why I try to help students identify ways to differentiate the two. Providing a visual reminder can make a huge difference in helping students recall the two terms and what they mean.
Here’s how I use visuals to help make the terms stick:
As we worked through the lesson, we recorded the word perimeter in our journals. However, we capitalize and bold the RIM to remind them that the peRIMeter measures the outside “rim” of the shape.
Students also draw a rectangle in their math journal and write the word perimeter going all the way around the outside…over and over again for my friends with small penmanship.
We also write AREA in our journals, and I let them color inside the As and R to remind them the area is inside. Then they return to that rectangle they drew and write AREA as big as they can fit inside.
2. Teach area & perimeter as different computations
Many of my kids realize that if all the sides are the same length, they can multiply the length by the number of sides to get the perimeter.
However, for my struggling learners, I encourage them to always add with perimeter and always multiply when computing area until they get the hang of them.
This helps them distinguish the two early on because they use different operations to solve.
3. Use color-coding.
Finally, if they are given a shape and asked to find the perimeter or area, I have them using colored pencils or crayons to help them.
If they are asked to find the perimeter, students outline the shapes. Students color in shape for questions requiring them to find the area.
One tip I learned the hard way was to insist students use colored pencils or crayons. This makes it easy to see our work and prevents torn pages and messes from markers.
2 must-have area & perimeter activities to add to your lessons
I also work hard to give my students TONS of activities and opportunities to practice skills together and separately because the research supports that increased opportunities mean increased learning (as long as I give meaningful feedback).
Here are three of my favorite activities to add to my area and perimeter lessons:
1. Area & Perimeter Cut, Paste, and Match – FREEBIE!
Looking or a fun addition to your area and perimeter lessons? This activity offers students practice finding recognizing how to compute area and perimeter for squares and rectangles.
There are a total of 8 sets – 4 basic & 4 advanced. You can differentiate this activity by giving students fewer cards.
Students match a set of game cards to find sets of 4 cards that all describe the same quadrilateral. The set includes a beginner set and an advanced set.
The beginner set is perfect for students who may struggle with fact fluency. The advanced set requires students to compute with more challenging facts.
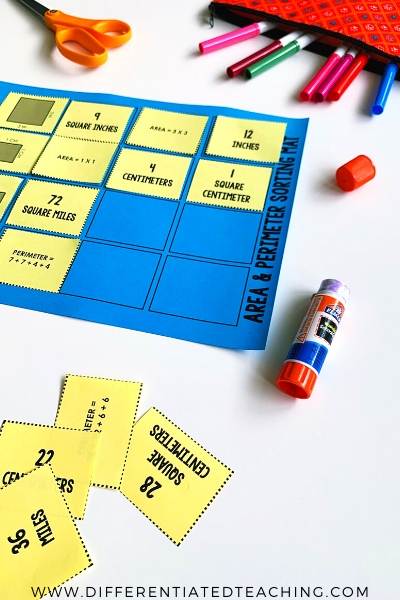
I use this activity as part of my small group reteach. My struggling learners review one set of cards with me during a guided mini-lesson. The second set is completed as a formative assessment. I have my students glue them to the sorting mat to make it easy for me to look for common misconceptions for reteaching.
Enter your email to get instant access to this fun activity.
2. Area and Perimeter Task Cards
I use these task cards closer to the end of our unit. They are a great way to incorporate movement while I assess progress.
The great thing is this can be an independent activity your students can complete while you are doing small group reteach. The only thing you’ll need to do is set a timer for rotating.
I’ve also used these as a full-class review before our assessment, so they are versatile.
The set contains customary (standard) and metric unit measurements for 36 total task cards.
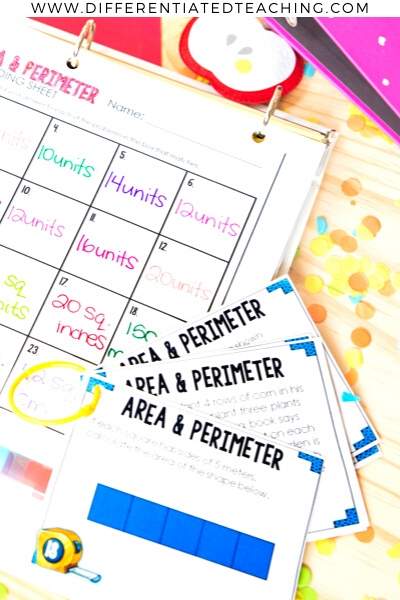
The cards vary in difficulty and include some story problems similar to those seen on state assessments. The set is perfect for laminating and using year after year to assess students’ mastery of area and perimeter.

3. Perimeter & Area Games
I also really enjoy using online games to give my students extra practice with important math skills, like computational fluency. However, I also find them to be a great way to reinforce my lessons.
These area and perimeter games are great for sharing with parents and adding to my website for early finishers. If you have a Google classroom, you can share the links to make them easily accessible to your learners.
Wrapping It Up: Fun and Effective Strategies for Area and Perimeter
As we wrap up our exploration of teaching perimeter and area, it’s clear that the journey is as enjoyable as it is educational. Our focus on making these concepts accessible through visual cues, differentiated computations, and color-coding has simplified learning and added fun to the classroom. The inclusion of engaging area and perimeter activities, like our cut-and-paste freebie and task cards, offers students a hands-on approach to mastering these vital mathematical concepts.
By equipping students with multiple strategies and various activities, we ensure they understand and remember the difference between area and perimeter. These tools empower them to visualize and apply these concepts in real-world scenarios, building a strong foundation for their future mathematical endeavors. Remember, the key to success in teaching area and perimeter lies in our ability to blend creativity with practicality, making learning an adventure students are eager to embark on.
As educators, our mission is to make learning both meaningful and memorable. With these tips, tricks, and free activities, we are one step closer to achieving this goal of teaching perimeter and area. Let’s continue to inspire and engage our students in mathematics!


