5 Pumpkin STEM Activities for Hands-on Fun
What is Fall without pumpkins? When October rolls around, kids begin to feel the Halloween itch, and with that comes pumpkin everything! Many times we teach students about pumpkin life cycles, but these pumpkin STEM activities are perfect for keeping your students engaged and learning important math and science skills this month.
Whether you’re running a STEM classroom or just want to incorporate more hands-on activities into your lesson plans, you’ll love watching your students explore and discover through these investigations.
What skills will students be practicing through the pumpkin STEM activities?
Five activities are included in my pumpkin science plans so that I can put my students into small groups and rotate through all the stations. This gives students more opportunities to get hands-on rather than just observing.
In these pumpkin stem activities, students practice many different math and science skills including:
- measuring width, height, and circumference using customary & metric measures
- observing and recording physical properties of matter
- comparing mass using a balance scale
- generating predictions & testing hypotheses
- strategies for addition, subtraction, and multiplication
- exploring volume and water displacement
- making inferences using data
How to prepare your Pumpkin STEM activities for stations
The following steps should be done before beginning these pumpkin experiments with students.
1. Get the pumpkins
For these experiments, you’ll need a variety of sizes of pumpkins. I like to get about 10 of the small pumpkins, 2 medium pumpkins, and a large pumpkin. However, you could make it work with fewer pumpkins if needed.
Since you’ll be using several pumpkins in these activities, consider asking parents to donate pumpkins. Just write a short note explaining what you need or enter your name and email to access this free version I’ve created.
When asking parents for donations, give at least a week of advance notice to get the best results.
Alternatively, you may consider checking in with your local grocery store or pumpkin patch about donating. If you plan to do this on Halloween or near the end of October, many places would gladly give you the pumpkins for free or at a discount just to clear them out.
Once you’ve got all your pumpkins, number or letter them to make it easier to keep track. Black Sharpie works well for this.
2. Decide how you’ll implement the stations.
Depending on your class and how many pumpkins you get, you may decide to set up these experiments in various ways.
If you’ve got a group that needs lots of teacher direction, you may want to run 2-3 stations one day and the others on a different day. This would allow you to monitor and rotate with students needing additional support.
However, I typically run the stations concurrently so that we finish these experiments in a single day.
3. Create your mini-books.
I encourage my students to keep their data organized in one place. Usually, we use a science journal started during our science safety unit at the year’s beginning.
However, for these activities, students make a mini-book. This approach simplifies my review process and allows students to transition smoothly between stations. Rather than using their regular science notebooks, which might get messy from the experiments, they create a special pumpkin science tab book. This keeps everything neat and accessible.
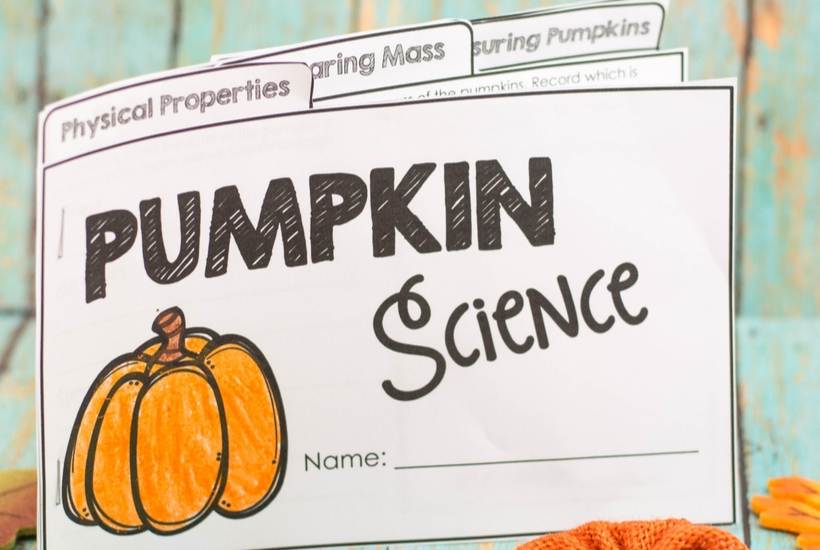
These are easy to cut out and put together; students can color them if they have time. I’ve discovered that one staple at the bottom corner makes it easier for students to spread their pages to write.
The five stations can be done as rotations, so we also discussed finding the right page for each station before you begin because you might not go in order.
What pumpkin science activities are included?
The five stations can be categorized into two major types: observing and recording & measurement. Here’s an overview of both:
1. Observing & recording stations
Identifing physical properties
At this station, students draw diagrams of various pumpkins. To make it more challenging and encourage attention to detail, try to choose pumpkins that look quite similar.
Students pick a pumpkin from this station and use their five senses to note its physical characteristics. Encourage them to be detailed in their observations.
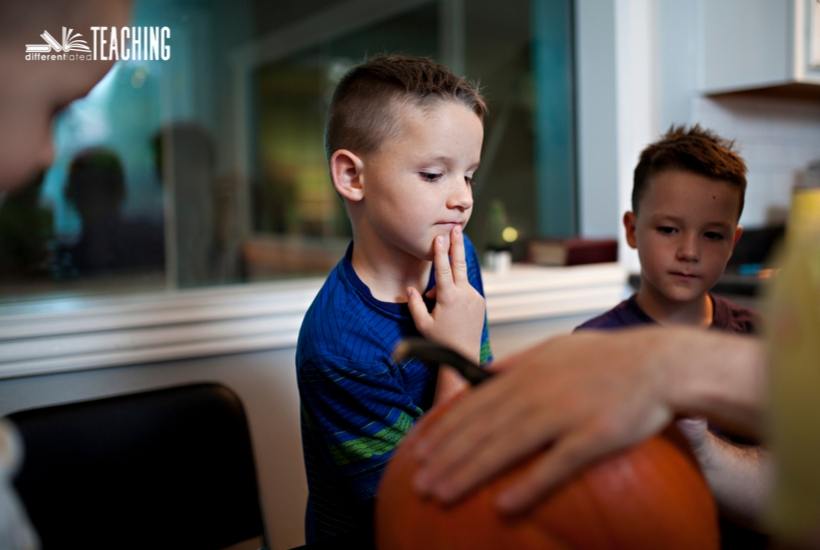
Later in the week, they’ll have to identify their pumpkin using only these notes. This activity sharpens their observational skills and makes learning interactive and fun.
Encouraging detailed observations of the pumpkins is beneficial, even if you don’t revisit the activity later. This helps students focus closely on the physical traits of their pumpkins.
In my class, students used colored pencils to add detail to their diagrams. They were also urged to label key features, enhancing their understanding and observation skills.
Predicting & counting the number of seeds inside pumpkins
This station is excellent for developing efficient counting methods and revisiting pumpkin anatomy. You’d be surprised how many students don’t know the parts of a pumpkin, even later in elementary school.
If there’s a large and medium pumpkin available, I prefer conducting this as a group activity towards the end.
The class is divided into two teams to brainstorm strategies for counting pumpkin seeds. This often leads to discussions about skip counting or grouping, laying the groundwork for understanding multiplication.
The real excitement starts when we cut open the pumpkins. Students dive into the task of removing the seeds, thoroughly engaged in counting each one.
Once the seed counting is done, we also count the exterior lines of the pumpkin. This opens up a conversation about how these lines can be used to make predictions, further enriching the learning experience.
2. Measurement Stations
Comparing mass using a balance scale.
At this station, students get hands-on practice using balance scales. They also get to practice making comparisons and drawing conclusions.
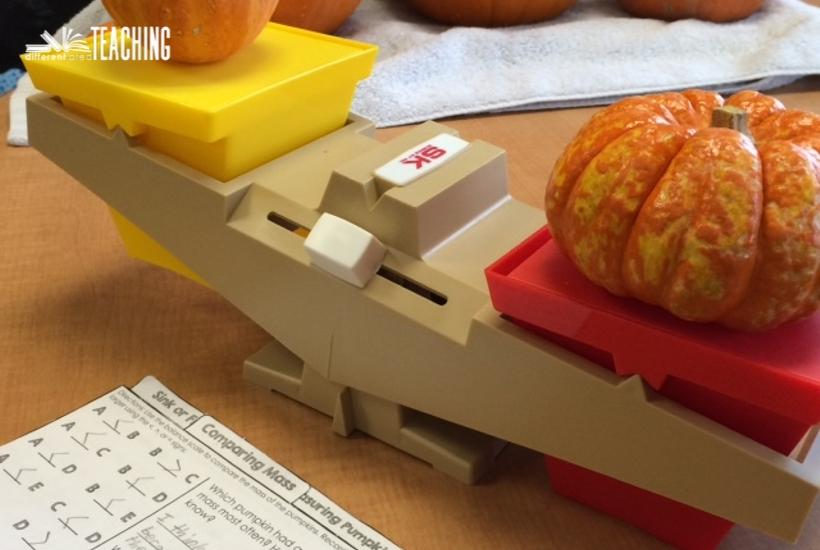
While working on initial comparisons and reviewing symbols for greater than and less than, students often find themselves making inferences based on the data they have.
In my classroom, this led to in-depth discussions about arranging pumpkins by mass, especially when some comparisons couldn’t be made with the balance scale. Observing students use their inference skills to draw conclusions from their collected data was a remarkable experience.
Measuring pumpkins using customary & metric measurement
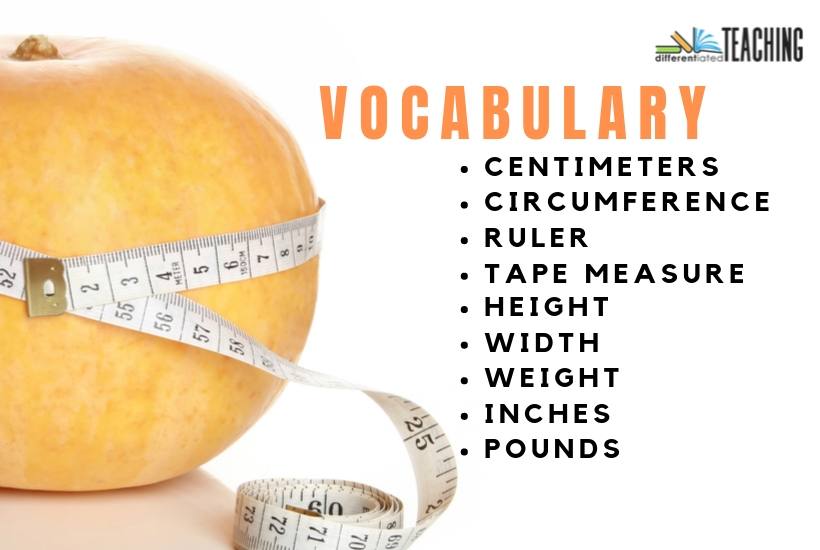
I’ve noticed that students often lack practical experience with measurement tools like rulers and tape measures. That’s why I seize every chance to integrate these skills into lessons.
I even bring my own scale from home, giving students the opportunity to practice measuring weight. This hands-on approach helps them become more comfortable and proficient with these essential tools.
In this activity, the students estimate their pumpkin’s height, width, circumference, and weight. Then they take the actual measurements to compare.
This is a great opportunity to introduce or review key measurement vocabulary, like inches and centimeters. It is also a great chance to build a frame of reference for students to improve their ability to estimate these measures in the future.
Introduction to volume & review of sink or float
By the time they reach my classroom, students usually understand the basics of sinking and floating. Yet, many have misconceptions about whether a pumpkin will sink or float in a large water container.
In this experiment, students explore if a pumpkin’s size affects its buoyancy. Before starting, they make hypotheses and share their ideas.
Weigh three pumpkins (or two, if more manageable), then place each in a large plastic container filled with water to see what happens.
Students are often surprised to find that all pumpkins float. We also observe the water level rise with each pumpkin, sparking a conversation about water displacement and introducing the concept of volume — the idea that matter occupies space.
Reflecting on Your October Pumpkin Science Fun
After finishing our experiments, I let the kids reflect on what they learned. The results are always amazing! In my class, you can see their engagement and excitement, especially during those big ‘ah-ha’ moments while working together on the pumpkin science experiments.
Many students hadn’t had hands-on experience with pumpkins before, making it an extra special activity. Interested in pumpkin science stations for your class? Find detailed instructions and a printable mini-book for your students at my TPT Store here: Pumpkin Science.
Looking for more ideas for your October lessons?
As we wrap up our Pumpkin STEM activities, remember that the magic of learning often happens when curiosity meets creativity. These pumpkin-themed activities are more than just seasonal fun; they’re gateways to deeper understanding and engagement in math and science for your learners.
Whether it’s through hands-on experiments or collaborative projects, each activity is designed to spark wonder and encourage critical thinking. If you’re looking for more October lesson planning ideas, here are a few of my favorite posts:


